
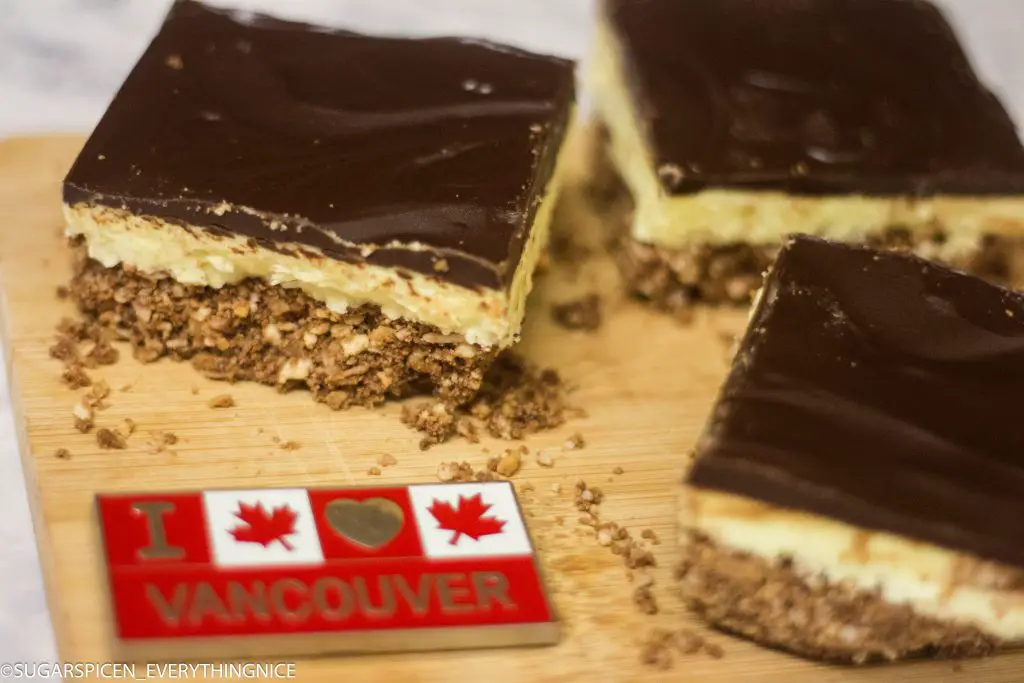
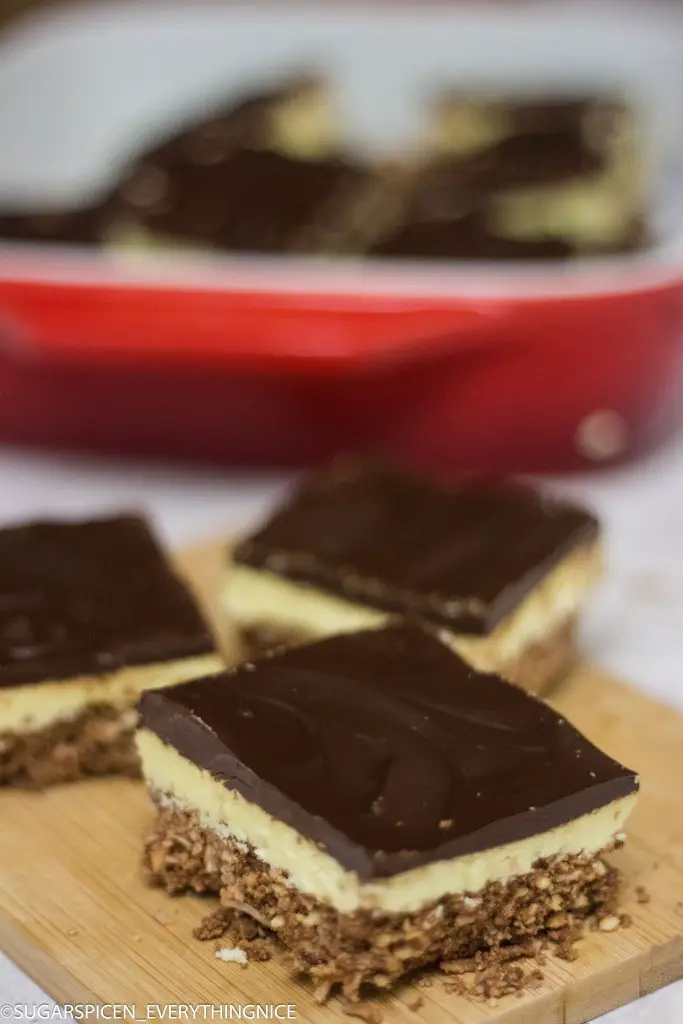
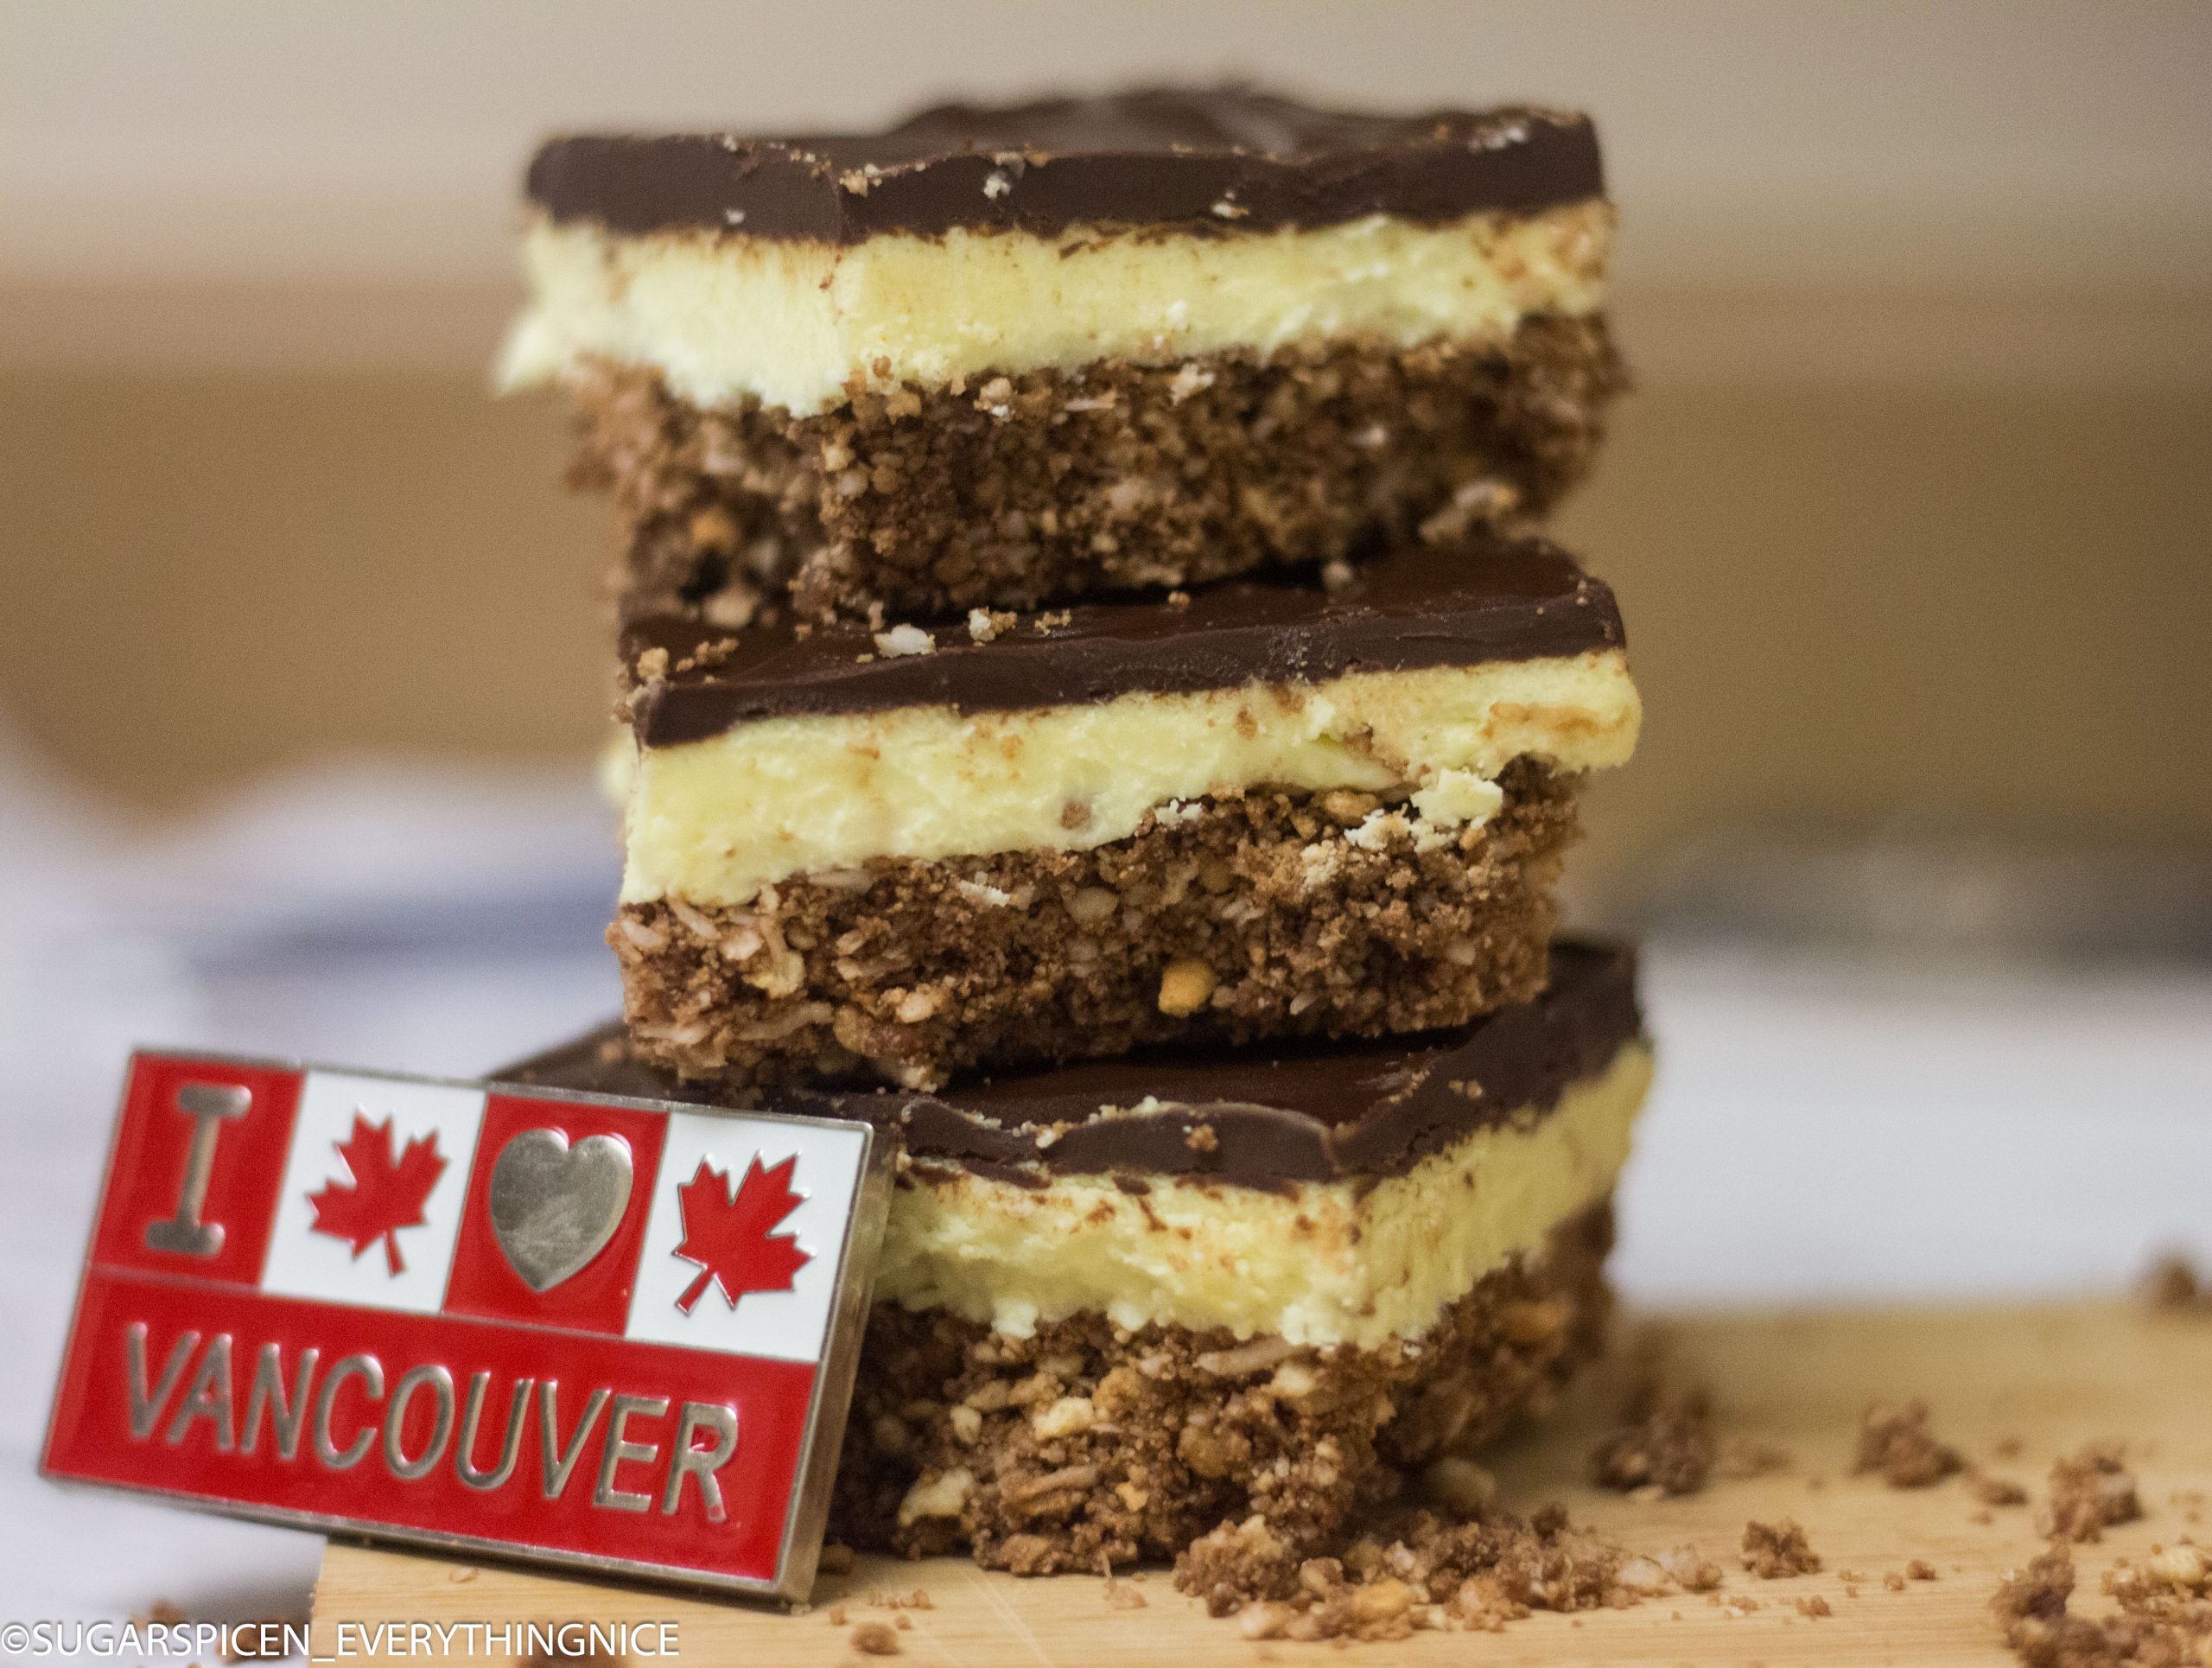
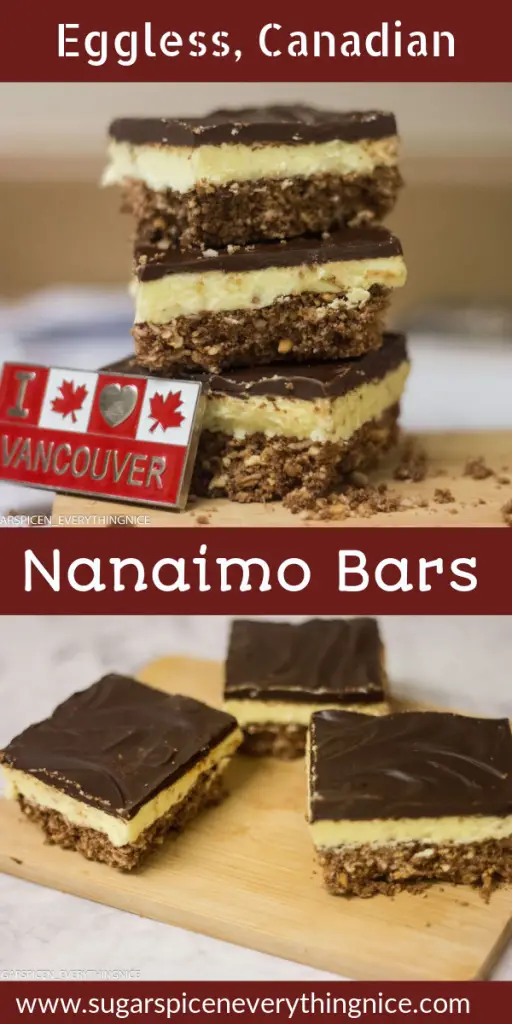
No Custard Nanaimo Bars
Happy Canada Day folks! This no-bake dessert was first made right here in British Columbia, in the city of Nanaimo. Hence, they are called no custard Nanaimo Bars! It has a crunchy chocolate coconutty base, creamy middle layer and topped with a thin layer of dark chocolate 🙂

We moved to British Columbia about a year ago and wanted to bake a popular Canadian desserts for Canada Day. We had to try our hands at making this staple BC Dessert – Nanaimo Bars being BC Residents!
This is a three layered, no-bake, dessert bar that originated from the city of Nanaimo in British Columbia, Canada.
Traditionally, wafer, nuts and shredded coconut* make up the bottom layer. Middle layer has custard icing and it is topped off with layer of chocolate ganache.
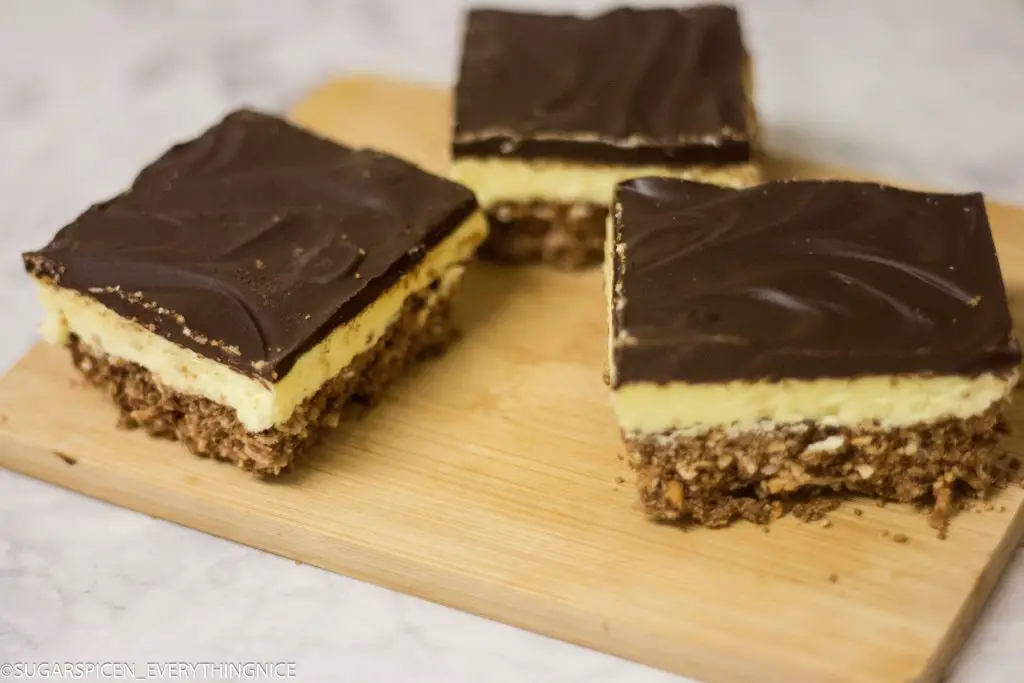
We have made some changes to the typical recipe here. We use a cookie crumb base mixed with shredded coconut. Buttercream frosting with corn-flour makes up the middle layer and it has a top layer of melted chocolate.
Bit about Nanaimo Bars
The first appearance of Nanaimo Bar recipe appeared as “Chocolate Square” in the Women’s Auxiliary of the Nanaimo Hospital Cookbook in 1952.
A year later, a similar recipe, under the name ‘Nanaimo Bar’ was published in Vancouver’s Edith Adams’ Cookbook. These are the earliest known publications. But the curator of Nanaimo Museum figures that Nanaimo Bars have been around much longer.
Throughout the years, its name has gone through a lot of changes or alterations. New York slice, London fog bar, a chocolate square and even a prayer bar are its alternate names.
However, the city of Nanaimo has done a good job of pushing the name ‘Nanaimo Bar’. and making sure the name stuck in Canadian Food History. Today there are also a lot of variations of the traditional Nanaimo Bar across the city and region.
Fun fact – if you ever go to Nanaimo for a visit, check out the Nanaimo Bar Trail. Its a self-guided tour through the city, where you get to try out different variations of this famous dessert.
A few noteworthy ones are the maple bacon and peanut butter crunch, organic options, Nanaimo bar spring roll, Nanaimo bar waffle, ice creams, cheesecakes or cupcakes with a Nanaimo Bar flare. You will even find cocktails or coffees with a Nanaimo bar touch.
Also check out what we made for 4th of July and India’s Independence Day!
LOOKING FOR MORE DESSERT BAR RECIPES??
Nanaimo Bars
Ingredients
Base Cookie Layer
- 1/2 cup Dark Chocolate chips
- 1/2 cup Butter
- 2 cups Digestive biscuits
- 1 cup Unsweetened shredded coconut (or flakes)
- 1 tsp Vanilla extract
Middle "Custard" Layer
- 4 cups Powdered sugar
- 1/2 cup Butter
- 3-5 tbsp Milk
- 4 tbsp Corn flour
- 1/2 tsp Turmeric
Top Chocolate Layer
- 1 cup Dark Chocolate chips
- 4 tbsp Melted butter
Instructions
Base Cookie Layer
- Line an 8″ x 8″ pan with aluminum foil.
- Crush the digestive biscuits in a food processor or by putting them in a large sandwich bag and running over them with a rolling pin.
- Then, in a medium sized sauce pan, melt the chocolate chips & butter on low heat. Remove the pan off the heat when you have just few chocolate chips left to melt.
- Add in the shredded coconut, vanilla extract and the digestive biscuit crumbs into the sauce pan and mix till everything is blended in.
- Now add the mix to the prepared 8″ x 8″ pan and press it down tightly with your hand.
- Pop the pan in the refrigerator as you prepare the custard layer.
Middle “Custard” Layer
- In a medium size bowl, add the butter (which was kept at room temp).
- Next, add powdered sugar and mix gently.
- Then add corn flour and vanilla extract. Mix again.
- Now start adding milk in splashes and keep mixing till you get the consistency seen in the video.
- Take out the pan with the cookie base from the refrigerator now. Put the custard mix on the base and spread it around evenly.
- Freeze it for 15 minutes.
Top Chocolate Layer
- Add chocolate and butter into a small saucepan.
- Then melt it over medium heat, while making sure that the chocolate doesn’t burn.
- Pour it over the custard layer and gently spread to form an even layer.
- Let it sit in the fridge for at least 3 hours or overnight before slicing.
Video
Did you find this recipe helpful ?? Leave me a star rating & comment about it or any recipe idea you would love to see. Don’t forget to share with family and friends!
Pin the Image below to check it out later!
Join Sugar Spice Community:
Facebook Group | Pinterest | Instagram | YouTube
Looking for more recipes? Sign up for our Sugar Spice newsletter and our YouTube Channel for weekly videos. Also rate, comment and share this article!
Disclosure: This page may contain affiliate links, which may earn me a commission, with no additional cost to you. Each of these links are referenced with the asterisk symbol * next to it, at all places it is posted.
About the Author

Hi! Akshita & Midhun here! Welcome to our blog where we show simple yet awesome recipes for your cravings.
Akshita being allergic to egg, we are committed to providing egg-free recipes along with some vegan friendly options. Read more about us here!